John Lewis JLDWW905 User Manual
Browse online or download User Manual for Dishwashers John Lewis JLDWW905. JOHN LEWIS JLDWW905 User Manual [es] [fr] [sk]
- Page / 28
- Table of contents
- BOOKMARKS
- JLDWW 905 1
- Instruction manual 1
- Important Safety Information 2
- Maintenance and cleaning 3
- Ecological hints 3
- Environmental information 3
- Contents 4
- Description of the Appliance 5
- Installation 6
- Technical specifications 6
- Unpacking 7
- Water supply connections 7
- Water outlet hose connection 7
- Fitting under a counter 8
- Levelling 8
- Electrical connection 9
- The Control Panel 10
- 10.Multi tab button 11
- 11.Half load button 11
- The water softener 12
- Filling with dishwasher salt 13
- Adjusting the dose 14
- Rinse aid 14
- Filling with rinse aid 14
- Using the Dishwasher 15
- The lower basket 16
- The cutlery basket 16
- The upper basket 17
- Use of detergent 18
- Different kinds of detergent 19
- Washing Programmes 20
- Starting a Washing Programme 21
- 9. Unloading the dishwasher 22
- Maintenance and Cleaning 23
- Something Not Working 24
- ...the wash results are not 25
- Repairs - After Sales Service 25
- Spare Parts 25
- John Lewis Partnership 28
- 171 Victoria Street 28
- London SW1E 5NN 28
Summary of Contents
JLDWW 905compact dishwasherInstruction manual
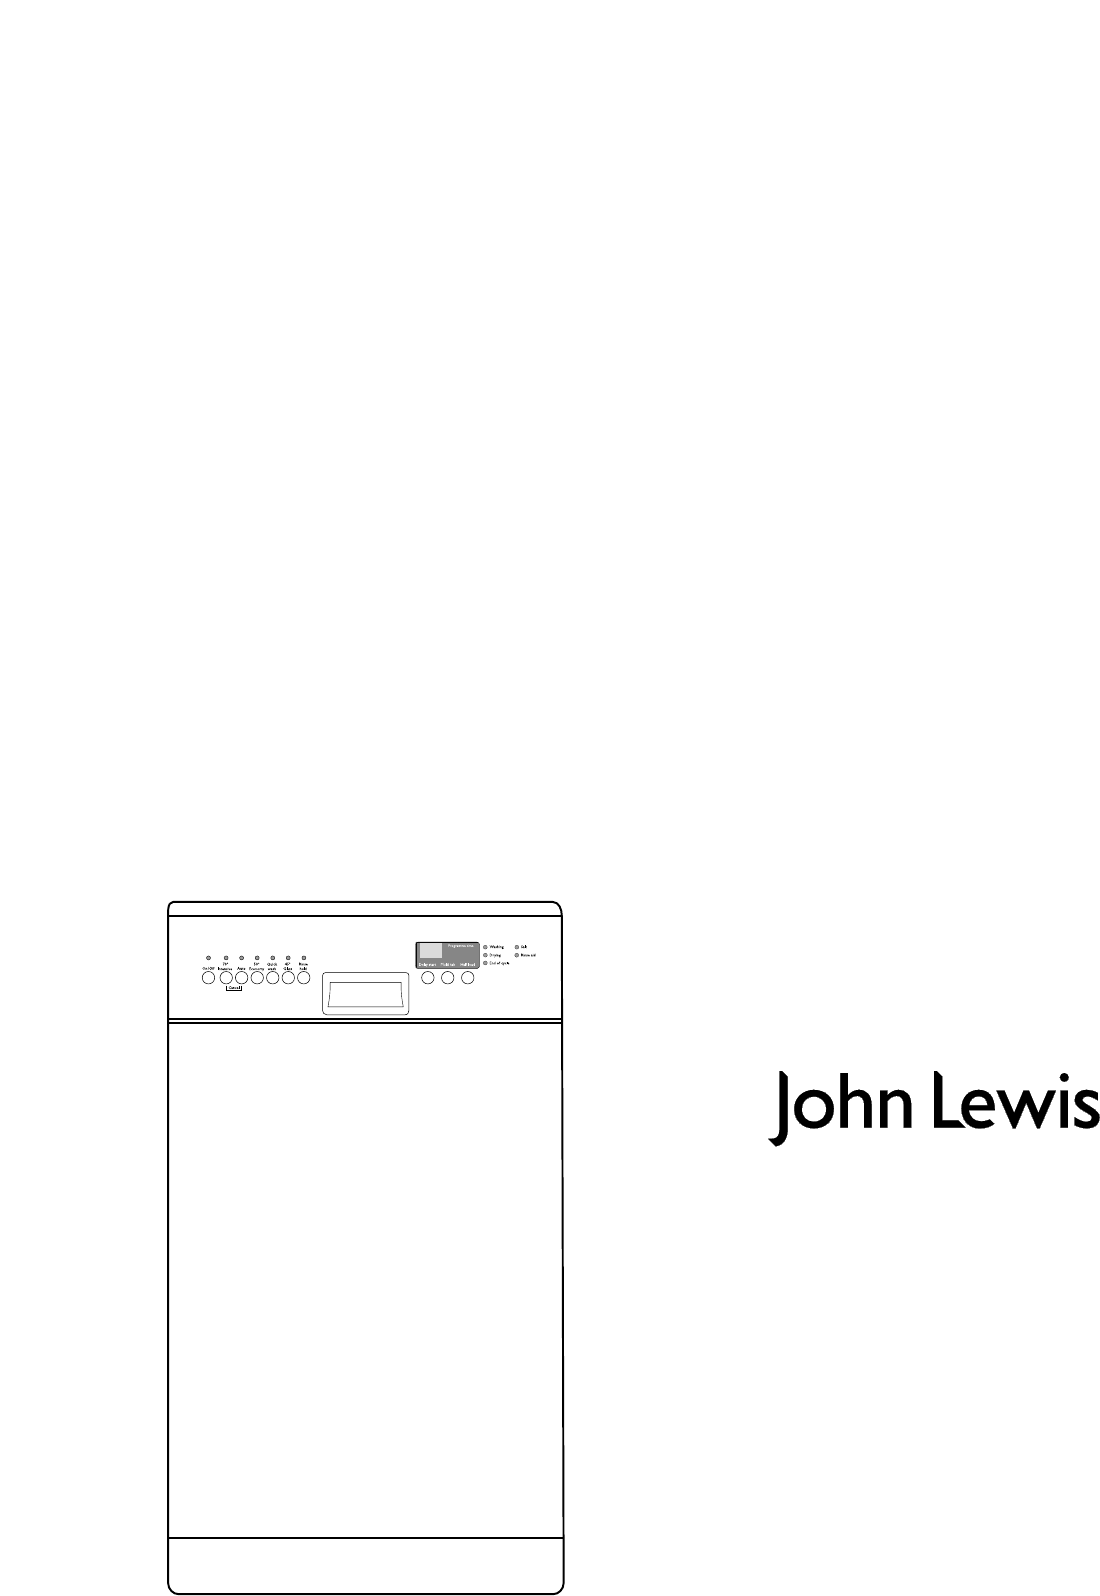
1.On/Off indicator light2.On/Off buton3.Function buttonsIn addition to the dishwashing programme selected,the followingfunctions can also be set with
10.Multi tab buttonThis appliance is equipped with the “Multi tab” function,thatallows the use of the combi detergent tablets with a combinedcleaning,
Before using your dishwasher for the first time:1. Ensure that the electrical and water connections comply with the installation instructions2. Remove
a) Setting manually1. Open the dishwasher door.2. Remove the lower basket from the dishwasher.3. Turn the water hardness dial to position 1 or 2 (see
Rinse aid Rinse aid is automatically added during the last rinse,ensuringthorough rinsing,and spot and streak free drying.The dispenser,which is posit
● Check if it’s necessary to refill with dishwasher salt or rinse aid● Load cutlery and dishes into the dishwasher.● Fill with dishwasher detergent .●
Open the door and slide out the baskets to load the dishes.The lower basketThe lower basket isdesigned to take saucepans,lids,plates,salad bowls,cutle
The upper basket The upper basket is designed for plates (dessert plates,saucers,dinner plates of up to 24 cmin diameter),salad bowls,cups and glasses
Use of detergent Only use detergents specifically designed for usein dishwashers.Please observe the manufacturer’s dosing andstorage recommendations a
Concentrated detergentModern detergents for dishwashers are almost exclusively low-alkaline concentrated detergents with natural enzymes in tabletform
Installation● This appliance is heavy.Care should be taken when moving it.● Check your dishwasher for any transport damage.Never connect a damaged mac
Washing Programmes20ProgrammeDegree of soiland type of loadHeavy soil.Crockery,cutlery,pots and pansNormal soil.Crockery andcutleryNormal soil.Crocker
1. Check that the baskets have been loaded correctly and that the spray arms can rotate freely 2. Turn on the water tap3. Close the dishwasher door4.
8. End of the washing programmeThe dishwasher will automatically stop.The “End of cycle” indicator light illuminates.The “Programme time” backlit ligh
You must disconnect the appliance from the electricity supply,before you can carry out any cleaning and maintenance work.External cleaningClean the ex
If the dishwasher is not working correctly,please carry out the following checks,before contacting your local Service Force agent.Important! If you ca
...the wash results are notsatisfactoryThe dishes are not clean● The wrong washing programme has been selected.● The dishes were arranged in such a wa
John Lewis Partnership171 Victoria StreetLondon SW1E 5NNwww.johnlewis.com03/06152951 89/0
● Ensure that the door of the dishwasher is always closed when it is not being loaded or unloaded.In this way you will avoid anybody tripping over the
For the userImportant Safety Information 2Installation 2Child safety 2Use 2Maintenance and cleaning 3Service 3Ecological hints 3Environmental informat
1.Upper basket stop2.Water hardness dial3.Salt container4.Detergent dispenser5.Control panel6.Rating plate7.Rinse aid dispenser8.Filters9.Lower spray
6Installation Technical specificationsDimensions Width 45 cmHeight with worktop 85 cmHeight without worktop 82 cmMax depth 61 cmMax depth with open do
Unpacking● Remove all packaging before positioning the machine.● If possible,position the machine next to a water tap and a drain.Water supply connect
Fitting under a counter (kitchen worktop or sink)By removing the machine’s worktop,you can install it under aclose fitting sink unit or a pre-existing
If you fit your own plug,the colours of the wires in the mains leadof your appliance may not correspond with the markingsidentifying the terminals in
More documents for Dishwashers John Lewis JLDWW905

Related products and manuals for Dishwashers John Lewis JLDWW905
 (44 pages)
(32 pages)
(44 pages)
(40 pages)
(32 pages)
(36 pages)
(36 pages)
(36 pages)
(32 pages)
(36 pages)
(36 pages)
(36 pages)
(36 pages)
(40 pages)
(28 pages)
(36 pages)
(40 pages)
(44 pages)
(32 pages)
(44 pages)
(40 pages)
(32 pages)
(36 pages)
(36 pages)
(36 pages)
(32 pages)
(36 pages)
(36 pages)
(36 pages)
(36 pages)
(40 pages)
(28 pages)
(36 pages)
(40 pages)
© 2020, manymanuals.com. All rights reserved. | 1.467 s |
 Manymanuals.com
 Manymanuals.de
 Manymanuals.fr
 Manymanuals.it
 Manymanuals.pl
 Manymanuals.cz
 Manymanuals.es
 Manymanuals-pt.com
Comments to this Manuals