John Lewis JLDV08 User Manual
Browse online or download User Manual for Tumble dryers John Lewis JLDV08. JOHN LEWIS JLDV08 User Manual
- Page / 20
- Table of contents
- BOOKMARKS
- Instruction manual 1
- Important Safety Information 2
- Ecological hints 3
- Environmental Information 3
- Contents 4
- Description of the Appliance 5
- Technical Specifications 6
- Installation 6
- Unpacking 7
- Positioning 7
- Fitting the vent hose 7
- Door reversal 8
- Hints and Tips 8
- Electrical connection 9
- The control panel 10
- 6 Display 11
- 7 Start/Pause button 11
- 8 Indicator Lights 12
- Programme Chart 13
- Using the tumble dryer 14
- Hints & Tips on Drying 15
- Maintenance and Cleaning 16
- Procedure: 17
- Memorising the new setting: 17
- Something Not Working 18
- 00887700 001100 77888877 19
- John Lewis Partnership 20
- 171 Victoria Street 20
- London SW1E 5NN 20
Summary of Contents
JLDV 08vented tumble dryerDelaystartDoor QuickHalfpowerAlarmoffDry timeDryingCoolingEndFilterJLDV02Start /PauseSyntheticsExtra dryStore dryCupboard dr
10The control panel1Door release ButtonPress this button to open the door. The light above thebutton will illuminate.Opening the door using this butto
116 DisplayThe display shows the following information:• duration of selected programme• delayed start• end of programme• incorrect option selection•
128 Indicator LightsThese lights indicate the following functions:“Drying” light This light indicates that the appliance is in the dryingphase.“Coolin
13Programme Chart Automatic drying (electronic programmes)Type of laundryDegree of dryingrequiredMax-load (1)Cotton7 kg7 kg 7 kg7 kg7 kg 7 kgTime cont
14Using the tumble dryerBefore using your tumble dryer for the first time, werecommend that you to place a few damp clothsinside the appliance and dry
15Before placing articles of laundry in your tumbledryer, check the care labels to ensure they arerecommended for tumble drying.Care Labels you may fi
16You must disconnect the appliance from theelectricity supply, before you can carry out anycleaning or maintenance work.External cleaningUse only soa
17Adjusting the level of conductivityWater contains, a variable quantity of limestone andmineral salts of which quantities vary according togeographic
18The tumble dryer does not start• The door(s) has (have) not been closed. • The plug is not properly inserted in the power socket.• There is no curre
19Repairs - After Sales ServiceIn the unlikely event of your appliance requiring service,or if you wish to purchase spare parts, please contact ourext
2Installation• This appliance is heavy. Care should be taken whenmoving it.• It is dangerous to alter the specifications or attempt tomodify this prod
John Lewis Partnership171 Victoria StreetLondon SW1E 5NNwww.johnlewis.com12598729101/07125987291.qxp 2007-02-16 14:13 Page 20
3Ecological hintsTo save energy we recommend that you follow thesehints:• Try to load the maximum capacity of the machine assmall loads are uneconomic
4For the UserImportant Safety Information2• InstallationDescription of the Appliance5The Control Panel10• Door Release Button 10• No Buzzer Button 10•
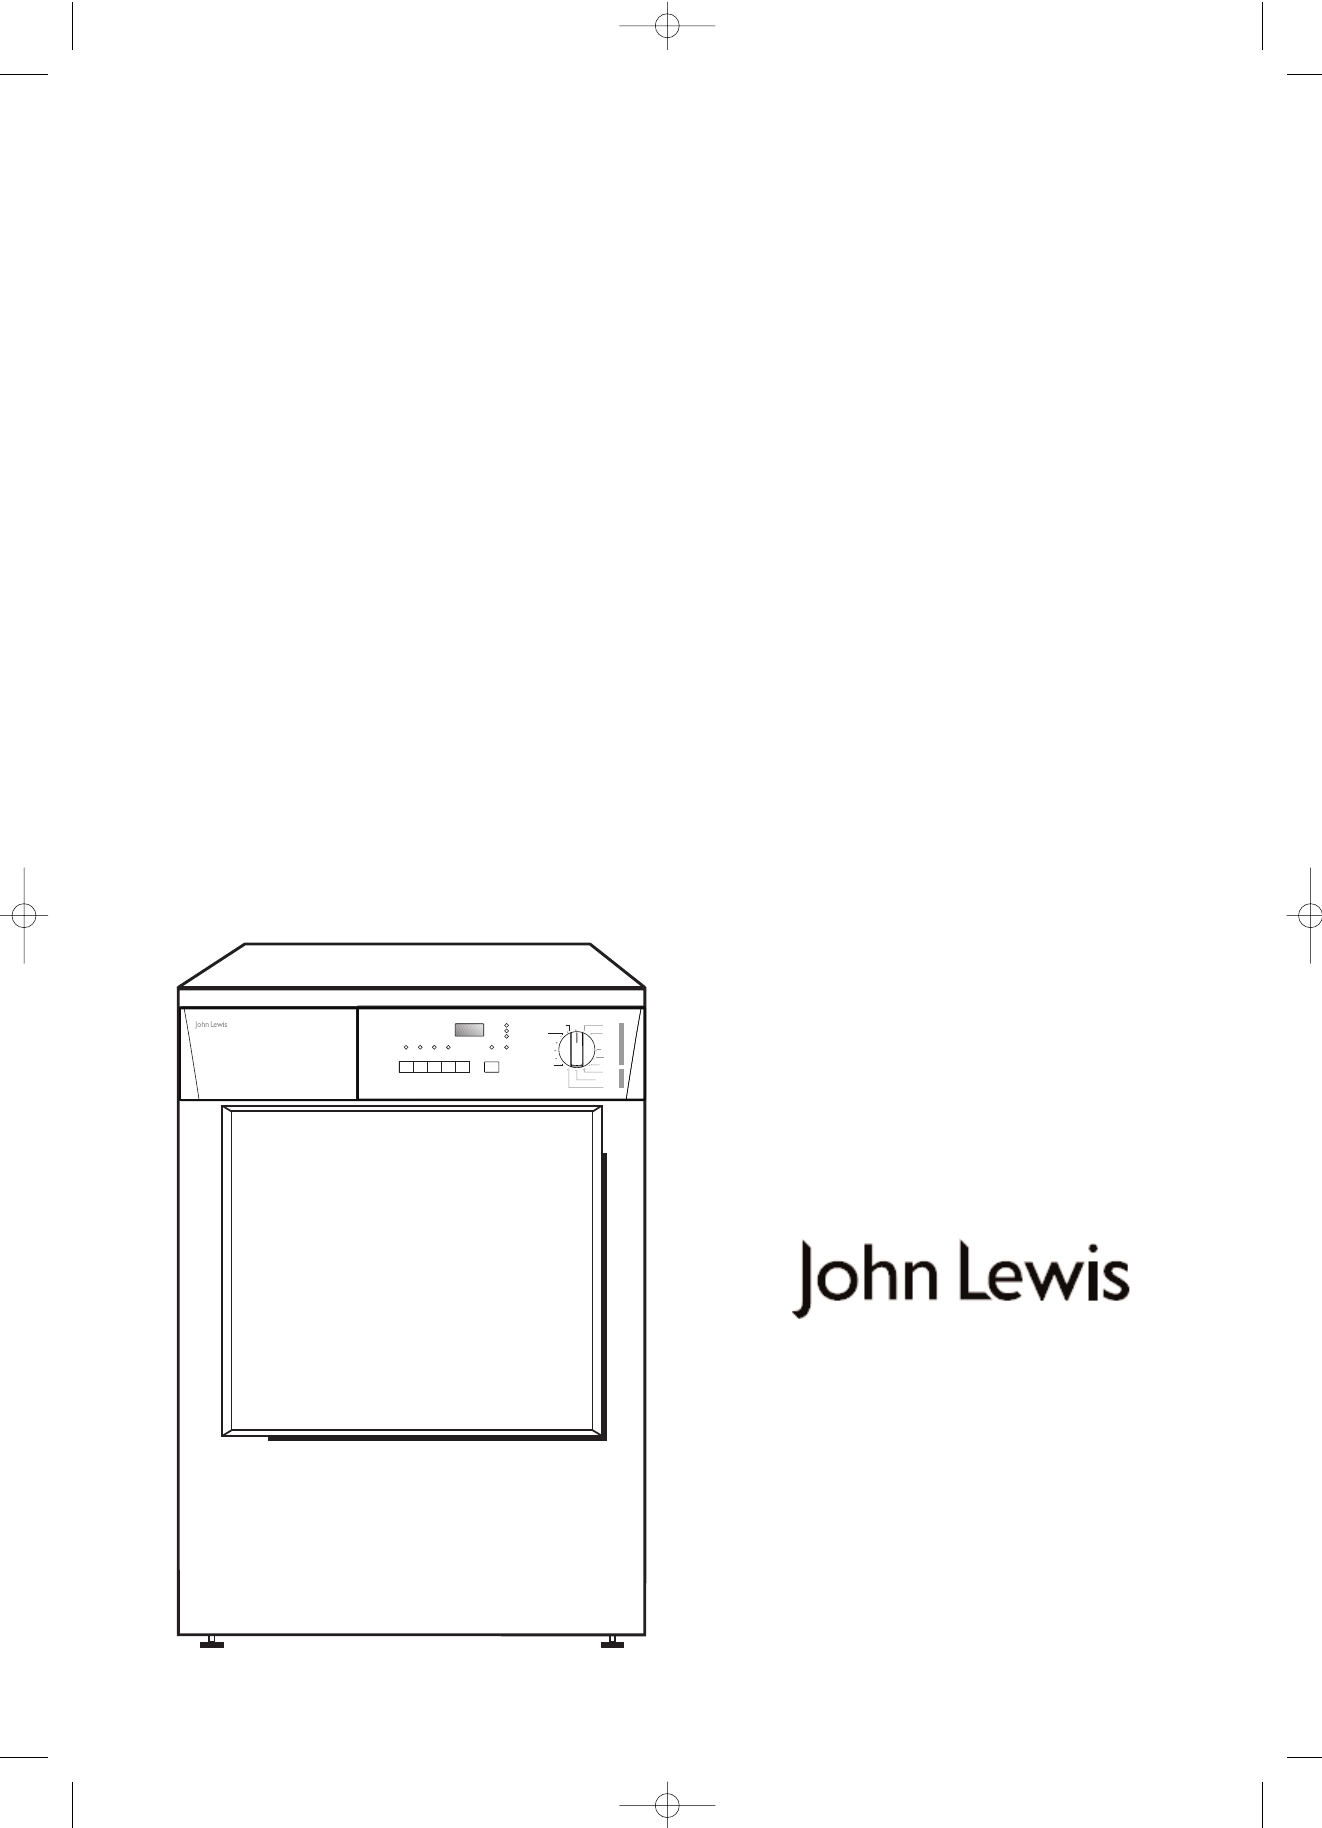
5Description of the Appliance01 Control panel2 Drum Light03 Fluff filters04 Rating Plate05 Adjustable feet123456 Side vent outlet7 Ring nut8 Rear vent
6Technical SpecificationsDIMENSIONS Height 85 cm (33.5”)Width 60 cm (23.6”)Depth 58 cm (22.8”)POWER SUPPLY VOLTAGE 230-240 V/50 HzTOTAL POWER ADSO
7UnpackingWarning !Slide out the polythene bag containing thepolystyrene block before using the appliance. Pulloff adhesive strips from inside machine
8Stacking kit (optional accessory)It should be possible to stack your new dryer on top of afront loading washing machine with a cover’s depthbetween 4
9Any electrical work required to install this applianceshould be carried out by a qualified electrician orcompetent person.WARNING: THIS APPLIANCE MUS
Related products and manuals for Tumble dryers John Lewis JLDV08
 (32 pages)
(32 pages)
(19 pages)
(32 pages)
(32 pages)
(20 pages)
(19 pages)
(24 pages)
(36 pages)
(22 pages)
(18 pages)
(22 pages)
(28 pages)
(32 pages)
(36 pages)
(36 pages)
(36 pages)
(32 pages)
(32 pages)
(32 pages)
(19 pages)
(32 pages)
(32 pages)
(20 pages)
(19 pages)
(24 pages)
(36 pages)
(22 pages)
(18 pages)
(22 pages)
(28 pages)
(32 pages)
(36 pages)
(36 pages)
(36 pages)
© 2020, manymanuals.com. All rights reserved. | 1.343 s |
 Manymanuals.com
 Manymanuals.de
 Manymanuals.fr
 Manymanuals.it
 Manymanuals.pl
 Manymanuals.cz
 Manymanuals.es
 Manymanuals-pt.com
Comments to this Manuals